
*Please note there is two versions of this kit. The USA and the Canadian.

The Canadian kit comes with a fully colonized block of substrate and casing soil.
The USA kit comes with inoculated grains, substrate bag and casing soil.
Extra Materials Required (not included):
- Work space such as a kitchen counter or table
- Paper towel or clean rags for cleaning
- Cleaning solution/spray (Lysol, mild bleach or H202)
- Scissors or sharp knife
- Spray bottle with distilled water
Canadian Mini Kit
1.
Check contents of package.
- 1 mini-kit grow box (6”x6”x4”)
- 1 bag of pasteurized Casing Soil
- 1 0.2 micron filter grow bag with 1/2lb inoculated grain
- 2 paper clips
2. Prepare work area: Clean and wipe down all work surfaces, scissors, and package components with a disinfectant such as Lysol, mild bleach or peroxide solution.
3. Open the grow bag and cut open the casing bag. Gently pour casing soil into the grow bag so there is an even layer about 1/4’-1/2’ thick across the top of the colonized mycelium. Try to get some casing soil down the side of the grow bag as well.
4. Cut the 4 top flaps off the grow box.
5. Place the grow bag back into the grow box and gently smooth out and lightly compress the casing soil. It is important to get an even layer across the top. Mist the top of the casing mix and the insides of the grow bag with distilled water.
6. Fold the top of the grow bag over ONCE and use the paper clips to hold closed. The bag should be upright with room for air inside. Always maintain visible moisture inside the bag (see step 6.)
7. Place in a dark warm environment (75F/24C, 55%+RH) until at least 1/2 of the casing layer is colonized.
8. Once the casing layer is partially colonized (50% approximately), it is time to start fruiting. Remove the kit from the dark and ensure at least 4 hours of light per day in a warm environment (75F/24C). The light does not have to be direct or very bright. If the inside of the bag is dry, lightly mist with distilled water. Under ideal conditions, fruits should begin to appear in 5-10 days.
9. Harvest all fresh mushrooms as soon as a few of the fruits open fully. Pick the fruits by gently squeezing the base of the mushroom and twist and pull. Remove any small mushrooms (pins) that are discolored or damaged. Lightly mist inside the bag and close it with paper clips.
10. Repeat harvest procedure for multiple flushes if possible.
11. The cold-shock technique can be used after the first flush to increase yields and flushes. To cold-shock the mycelium, remove the block from the grow box in a clean work space and submerge it in distilled water. Cover and place in the refrigerator for 12-16 hours. Remove the block from the water and place back into the grow bag. At this point you could add a bit more (1/8”) casing soil to the top of the block. Repeat fruiting steps 13-16 until the kit no longer produces.

USA Mini Kit
1. Check contents of package.
- 1 mini-kit grow box (6”x6”x4”)
- 1 bag of sterilized grains
- 1 LC Syringe - 10ml
- 1 bag of pasteurized Manure (M). Substrate
- 1 bag of pasteurized Casing Soil
- 2 paper clips
2.
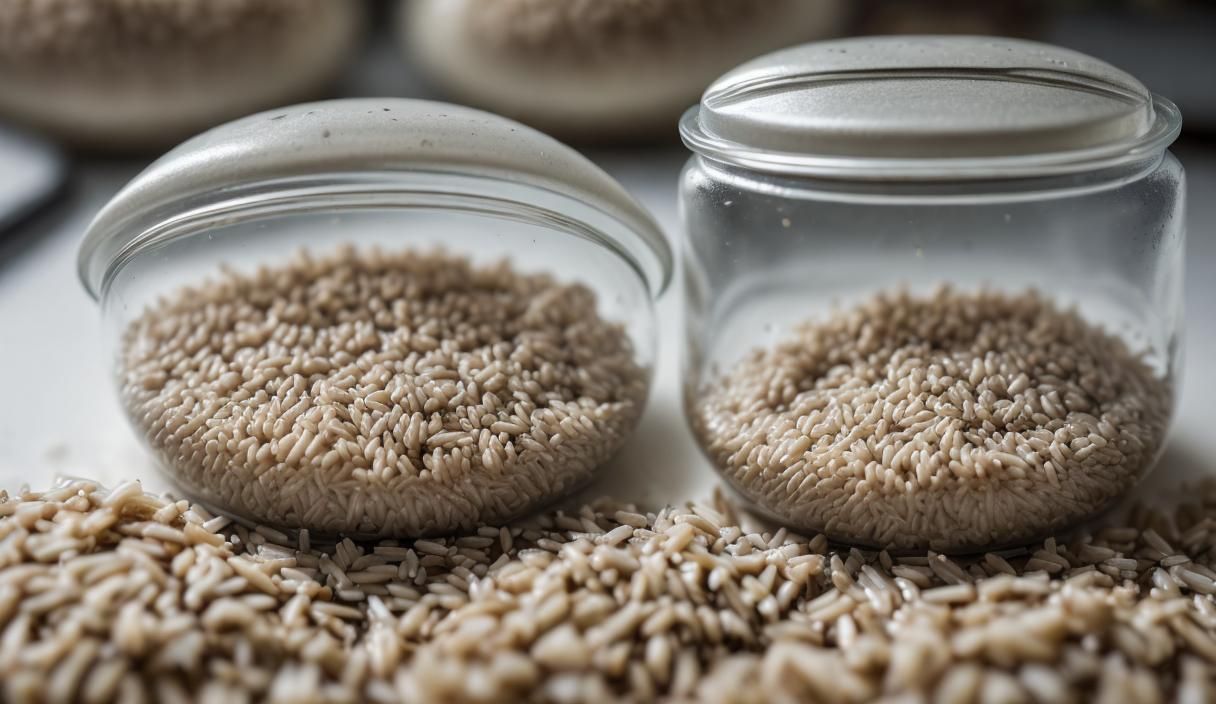
Grow the mycelium by inoculating the sterilized grains.
Use your LC Syringe and inject 10ml liquid culture in the grain bag and allow it to colonize. Place the grow bag with the inoculated grain in a dark and warm environment (75F/24C and relative humidity (RH) over 55%) and wait until the grain has been completely colonized with mycelium. The growth rate/time of the mycelium depends on many factors and could take as long as a few weeks to fully colonize. Under ideal conditions the grain should be fully colonized in less than 2 weeks. Once the grain is fully colonized (all white), proceed to next step.
3. Prepare work area: Clean and wipe down all work surfaces, scissors, and package components with a disinfectant such as Lysol, mild bleach or peroxide solution. From this point forward we recommend wearing gloves. Latex or Nitrile types work well.
Clean/disinfect hands/gloves and spray the work surface lightly again.
4. Cut open the M. Substrate bag and the grow bag. The grow bag should be cut as close to the top of the bag as possible.
5. Carefully pour the M. Substrate into the grow bag and mix fully. Be gentle with the mycelium while mixing, it can damage easily. After mixing, fold the top of the grow bag over TWICE and place the 2 paper clips on the bag to hold it shut. The top of the grow bag should be tight and somewhat sealed. Place the bag back into the grow box and very gently press the top of the mycelium so it is relatively smooth and flat on the top surface.
6. Place the grow box back into a dark warm (75F/24C, 55%RH) environment again until at least 90% of the substrate/mycelium mix is colonized. Check daily to ensure there is visible moisture inside the grow bag. If/when the grow bag is dry, mist the inside walls of the bag with a few light sprays of distilled water.
7. Prepare work area: Clean and wipe down all work surfaces, scissors, and package components with a disinfectant such as Lysol, mild bleach or peroxide solution.
8. Open the grow bag and cut open the casing bag. Gently pour casing soil into the grow bag so there is an even layer about 1/4’-1/2’ thick across the top of the colonized mycelium. Try to get some casing soil down the side of the grow bag as well.
9. Cut the 4 top flaps off the grow box.
10. Place the grow bag back into the grow box and gently smooth out and lightly compress the casing soil. It is important to get an even layer across the top. Mist the top of the casing mix and the insides of the grow bag with distilled water.
11. Fold the top of the grow bag over ONCE and use the paper clips to hold closed. The bag should be upright with room for air inside. Always maintain visible moisture inside the bag (see step 6.)
12. Place in a dark warm environment (75F/24C, 55%+RH) until at least 1/2 of the casing layer is colonized.
13. Once the casing layer is partially colonized (50% approximately), it is time to start fruiting. Remove the kit from the dark and ensure at least 4 hours of light per day in a warm environment (75F/24C). The light does not have to be direct or very bright. If the inside of the bag is dry, lightly mist with distilled water. Under ideal conditions, fruits should begin to appear in 5-10 days.
14. Harvest all fresh mushrooms as soon as a few of the fruits open fully. Pick the fruits by gently squeezing the base of the mushroom and twist and pull. Remove any small mushrooms (pins) that are discolored or damaged. Lightly mist inside the bag and close it with paper clips.
15. Repeat harvest procedure for multiple flushes if possible.
16. The cold-shock technique can be used after the first flush to increase yields and flushes. To cold-shock the mycelium, remove the block from the grow box in a clean work space and submerge it in distilled water. Cover and place in the refrigerator for 12-16 hours. Remove the block from the water and place back into the grow bag. At this point you could add a bit more (1/8”) casing soil to the top of the block. Repeat fruiting steps 13-16 until the kit no longer produces.
Tips on harvesting and preparing a 2nd flush
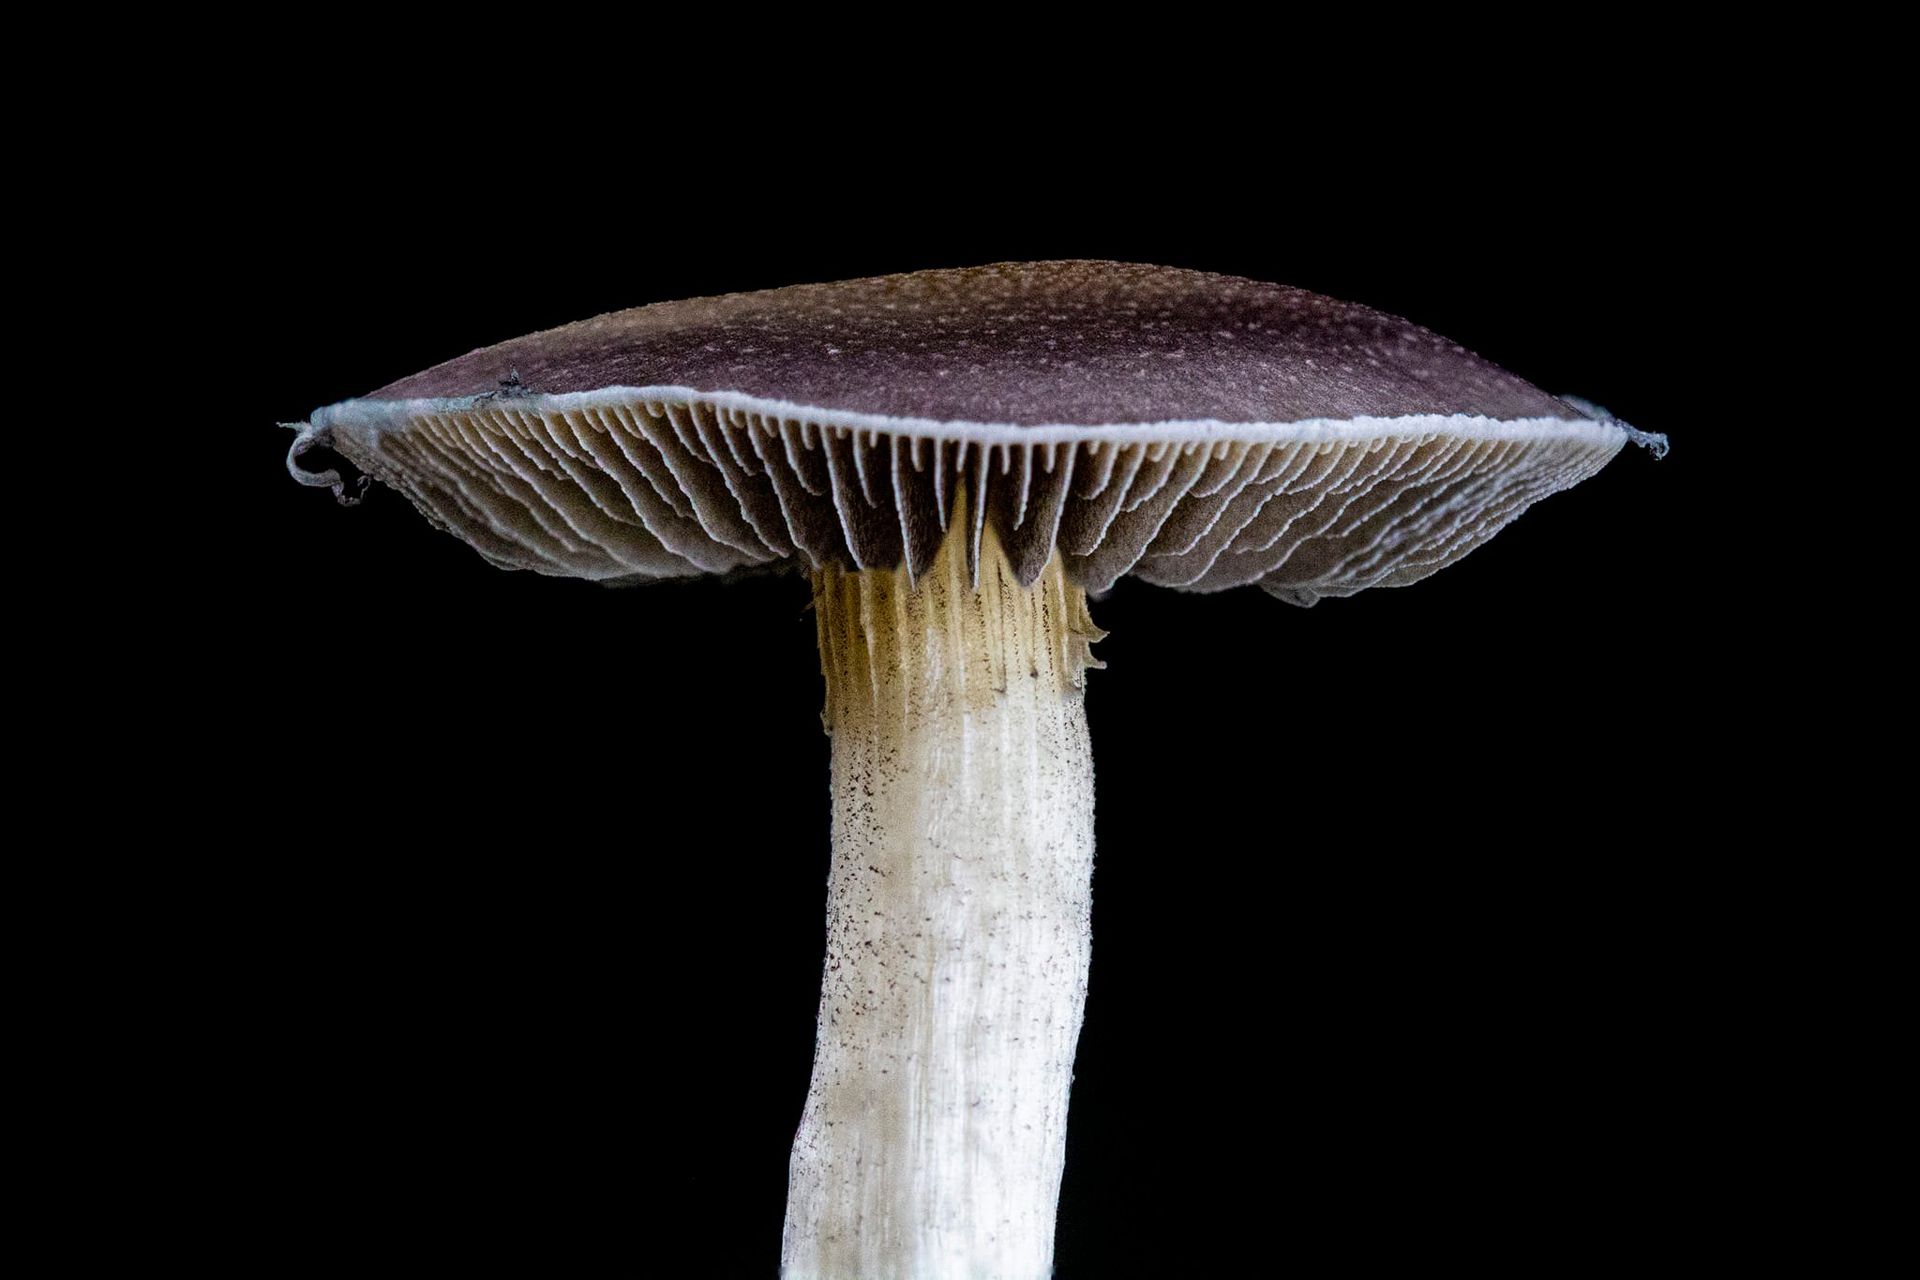
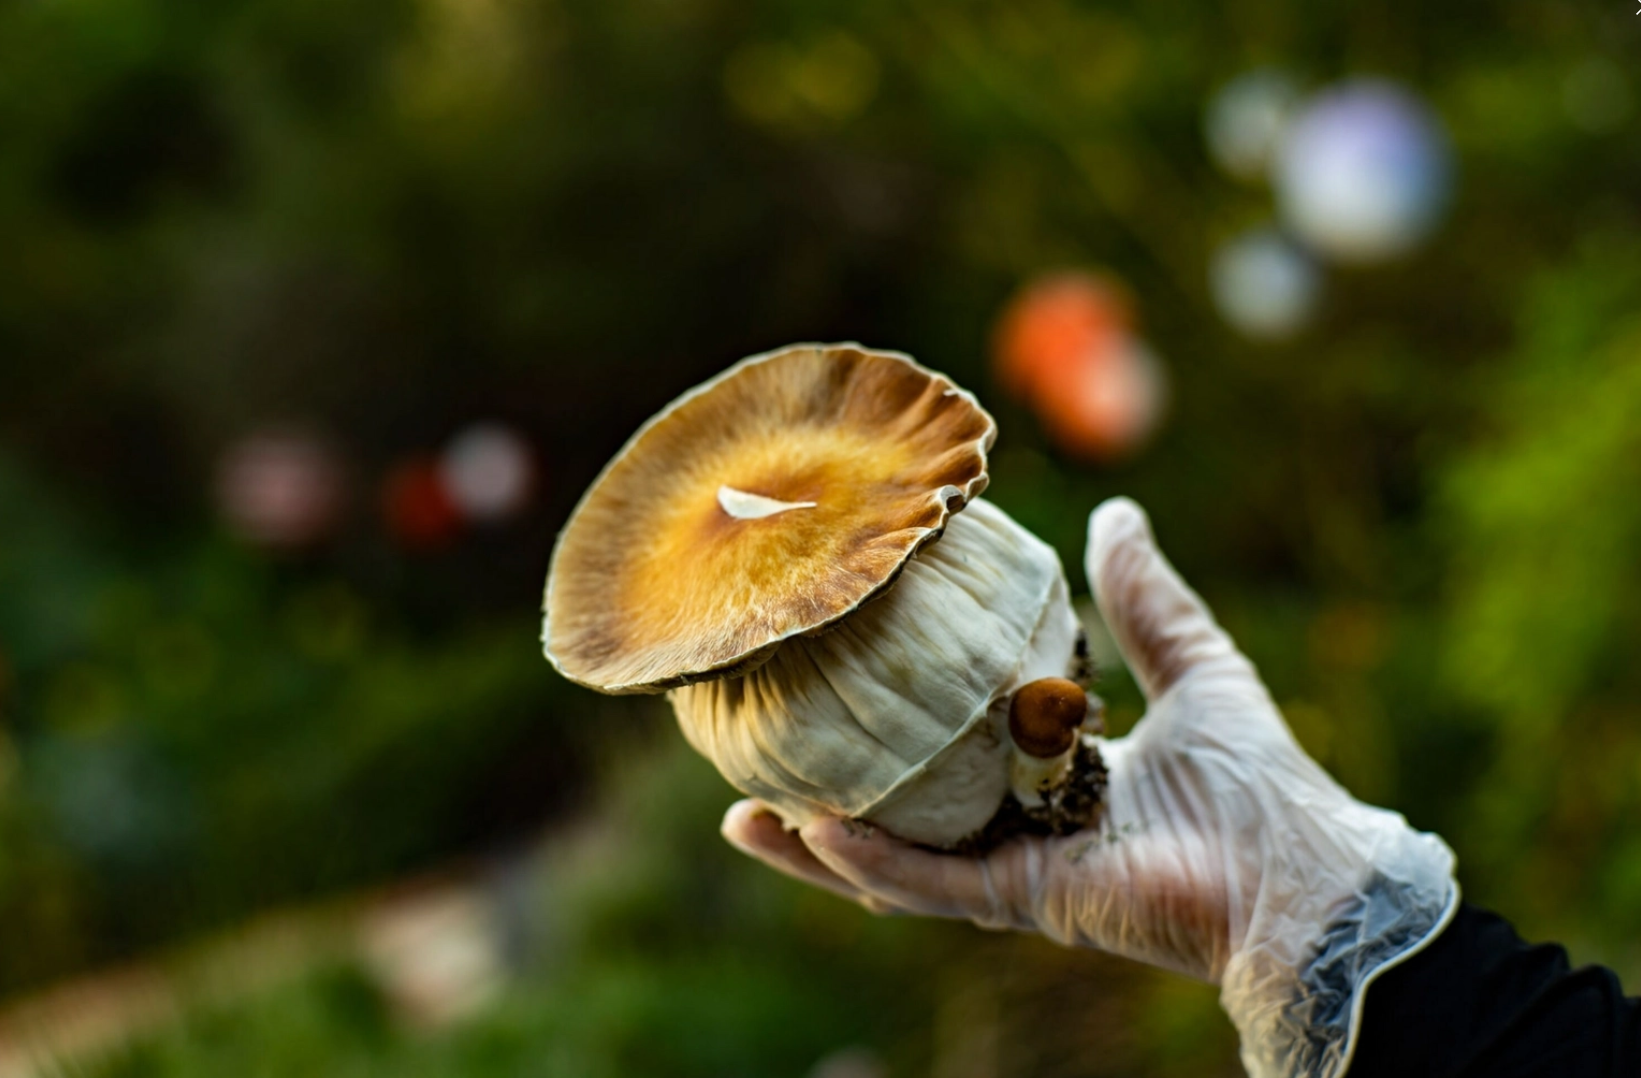
When to pick your mushrooms
As soon as you have some mushrooms and you see the "veil" breaking (the veil is the thin layer of mushroom skin that covers the gills under the cap) it is time to pick. The best way to pick is to grasp the mushroom as low as you can at the base just above the casing soil. Gently twist and pull. This will separate the mushroom from the casing soil while minimizing the damage to the top layer of casing. You do not want to pull up all the soil. The best time to pick is either just before the veil breaks or very soon after as the spores will start dropping after the veil breaks. Spores dropping on the casing soil will reduce the chance of more mushrooms growing in that spot.
How to prepare for the next flush
The best method for creating a bountiful harvest after you have cropped out the first time is to clear away any unfinished smaller mushrooms. Usually the smaller pins will "abort" if there is larger mushrooms around them so its best to just pick off any smaller pins that appear to be dried up or stunted. The will only inhibit future growth on the 2nd flush. Give the entire block of substrate and casing soil a good misting / spraw with distilled water and let it incubate for another 2 or 3 days. Then introduce the light cycle again and you should start to see new pins forming within a few days.
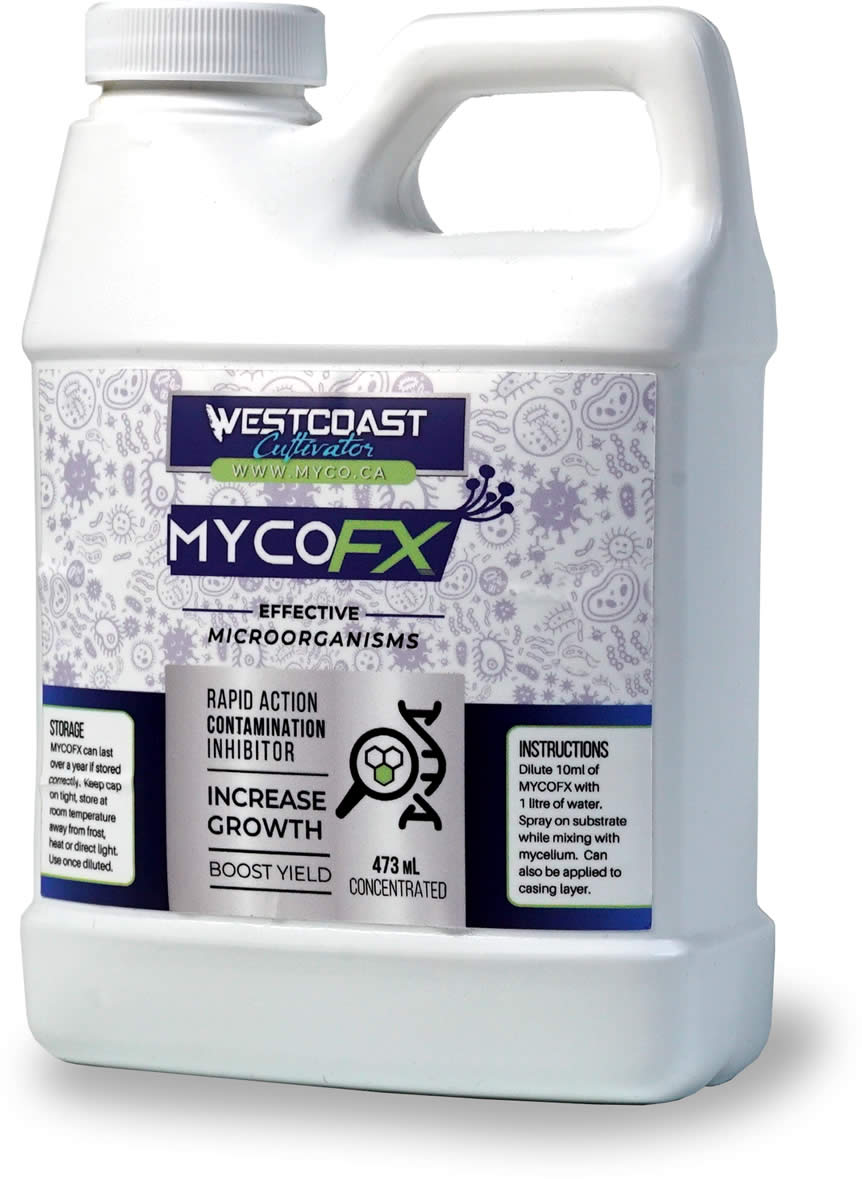
Reduce Chance of Contamination
Using
MycoFX Contamination Inhibitor during this process will also decrease any chance of contamination.


Mycoblog - Info and articles about the world of fungi
#FREESPORES NETWORK