
*Please note this walkthrough is starting at the point were you already have a fully colonized jar of mycelium to work with. You can choose to purchase the kit with fully colonized spawn or substrate but the basic kit comes with just a regular grain bag that is ready to be inoculated with an LC Culture or Spore Syringe. Once you have the jar fully colonized you can start these instructions. If you do not have a fully colonized jar of mycelium yet please read about using Liquid Culture and Live Spawn as well as Growing Mushrooms from a Spore Syringe
After you have received your
Mushbox Casing kit and have
live mycelium, please confirm all the items are in place and ready for use. It is important to be prepared and have a clean working environment before unpacking and using your mushroom kit.
The Mushbox Casing kit CAD version comes with:
- 1 carboard grow box.
- 1 clear plastic dome lid.
- 1 plastic mixing / grow bag.
- 1 bag of casing oil.
- 1 spray bottle.
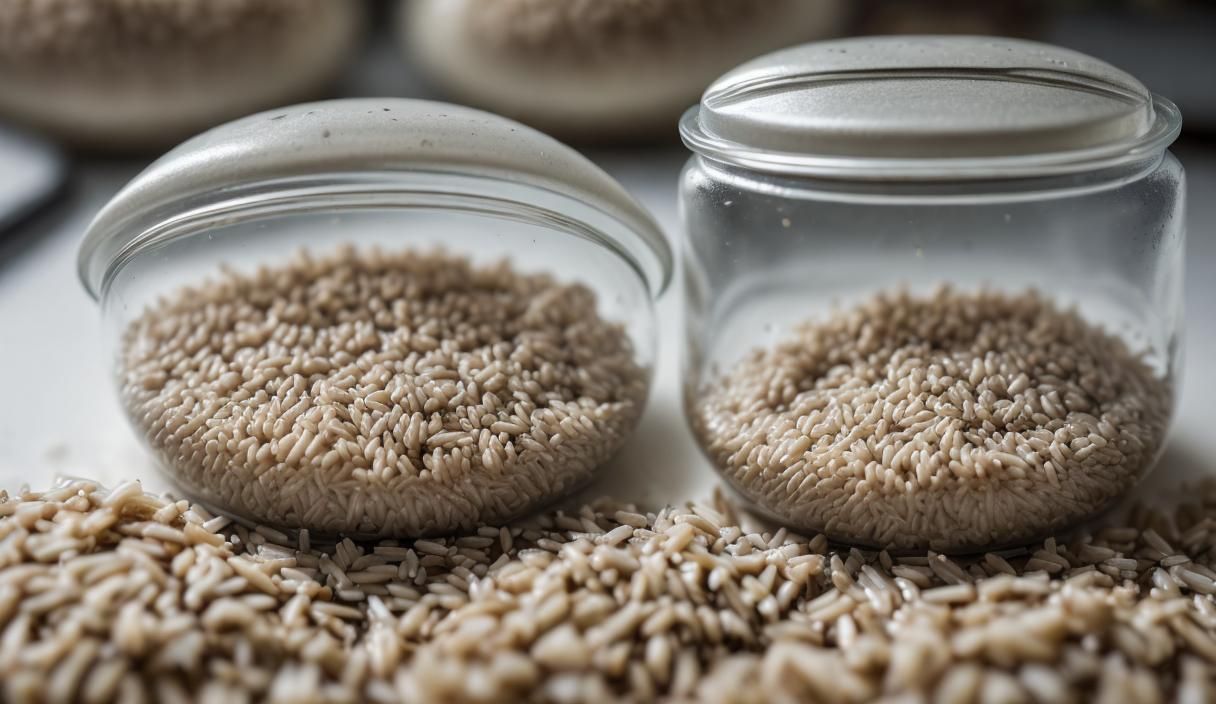
- 1 grain substrate jar (Or live spawn / substrate)
- 1 bag of straw
Some other items you will need to complete the process will include 1 large pot / canner that can hold 20L or more for pasteurization of the straw, a strainer or drain bin, a rock or weight, and some sterilization items such as: lysol, alchohol wipes, hand sanitizer, and gloves. Also if you have it available a glove box or flowhood and any other equipment that will help maintain a clean working environment. Those last items are not mandatory but will always help.
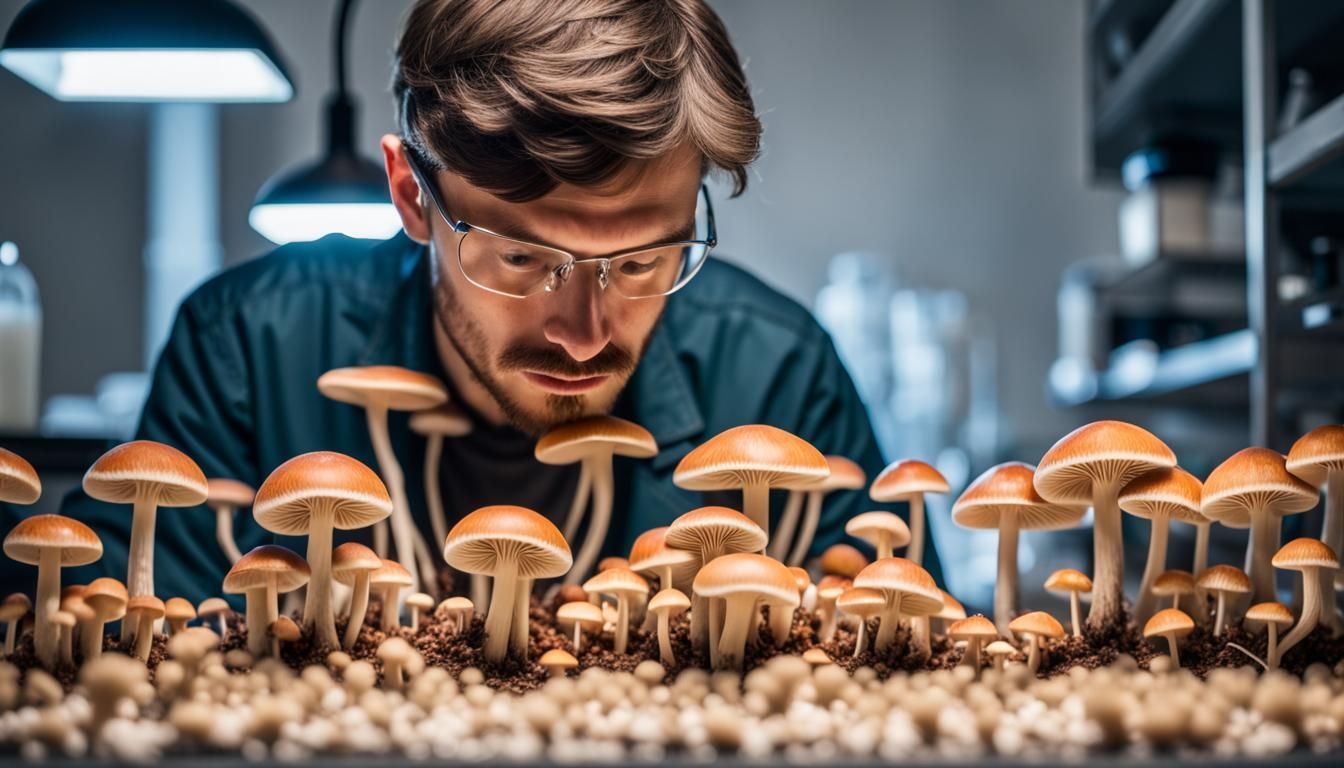
Cleanliness equals success with mushroom growing. Always wash and if possible take a shower before starting your experiment. And have a fresh pair of working clothes or a lab smock if possible ready to use, it might sound demanding but you should really consider this hobby to be scientific experiment and play the role to the fullest extent possible withing your budget. It is possible to have success with the most extreme basics but to limit possible contamination sources it is recommended to use all available resources to maintain your sterile environment and growing chamber at all times.
Step 1: Pasteurization of the straw
The first step to using this mushroom kit and growing with casing is to prepare your straw for colonization. You should have already inoculated the rye grain jar and incubated it to the point were the mycelium has fully colonized all the rye grains leaving you with a solid brick of healthy, white mycelium. This is what you will use to mix into the straw, but before you can do that you need to kill off any remaining contaminates and bacteria that maybe living in the shredded straw.
This is were you need the large 20L or more pot / canner. Fill it up approx. 3/4 full, 75% with clean water and set it to a boil using a stove or outside flame. Whatever it takes to bring it to a full boil. When it has reached boiling turn off the heat and place the entire burlap sack full of straw into the pot. This is why you need such a large pot as it is necessary to fully submerge the entire sack and press it so that any air bubbles are removed. A large clean rock or brick is often used. At this point you can take a break and wait patiently as it needs to soak for a minium of 25 minutes with the heat off.
After the 25 minutes is up you can turn the stove or heat source back on LOW heat so the water will simmer but not boil. Push down on the weight to allow any extra air bubbles to escape. Let it sit like this for another 35 minutes on LOW heat. After waiting you can turn off the heat and prepare the strainer. Remove the hot bag of straw from the pot and place it in the strainer allowing all the water to drain off. It should look very dark and appear similar to a dark tea and have a strong odour of fresh straw. Just leave the bag of straw in the strainer to drain and cool down to room temperature, this will take approx. 2-3 hours and there is no way to rush it, just relax and let it cool. If you add the mycelium at this point and it is still to hot it could damage and burn the live mycelium preventing growth and killing your project before it even begins. Have patience.
Step 2: Mixing the Mycelium With Straw
After you waited and let the straw cool down to room temperature you are ready to mix the jar of mycelium (fully colonized rye grain) with the straw. Be careful with this part as it takes some patience and can easily go wrong with a fumble or excited hands. Again make sure your entire working area and all tools are clean.
First you need to remove all the straw from the burlap sack and get it into the mixing bag. You want to do this quickly and have the straw exposed as little as possible during the transfer process. The best way to do that is to just dump the entire burlap sack into the plastic mixing bag and twist the bag shut, it is ok to allow air inside the bag as your working area should already be clean.
Next you need to break up the mycelium and get it out of the jar so it can mix easily with the straw in the mixing bag. There is several techniques for breaking up mycelium in a jar but the best and easiest method is to use a scalpal or thin knife to push inside the jar and smash up the rye grains. Do not be afraid to damage anything at this point as it is fully colonized and needs to be broken up into individual rye grains or as small clumps as possible.
After breaking up the mycelium you should be able to easily dump it all out from the jar into the mixing bag full of straw and begin mixing it up very well. It is important to spend a bit of time here gently flipping and massaging the entire bag of straw and mycelium chunks so that it gets spread around evenly and the mycelium comes into contact with as much straw as possible. Take your time and be gentle as you don't want to damage the bag and create a rip or tear, and allow any of the straw / mycelium mixture to accidently spill out, if any does spill out do not put it back into the mixture as it could be contaminated, just dispose of it.
Now you have a large bag of straw and mycelium chunks. You need to place this entire bag into the cardboard grow box included with the kit. It should be a snug fit and will take some maneuvering and adjustments to get it to conform into the shape of the box. You can pick it up and drop it from a few inches, lightly tapping the substrate mixture into place allowing it to settle up and take the shape of the box. It is important to make sure it has fit into all the corners and is not jammed up on the bottom, also it needs to be lightly patted so the surface is level and does not have any straw pieces jutting up, try to keep it as level and flat as possible without adding to much pressure or compacting the mixture.
There should be some excess plastic showing and sticking up from the bag outside of the grow box, this is ok and should be folded down over top closing off the opening of the bag and preventing any outside direct exposure to the substrate inside. Just fold up the plastic and lay it on top so it is closed but not compressed or putting pressure on the contents.
Step 3: Incubation of the Straw Substrate
Now you have the straw and mycelium mixture packed into the grow box and covered with the remaining plastic. Simply place this entire box into a warm, dark environment to begin incubation. It is important to have it maintain temperature between 79-81 degrees F. and to ensure no light is exposed to the substrate. If those factors are kept there should be quick and healthy colonization with no contamination. At this point it is very hard not to take a peak and look at the progress but the less time you spend looking at it the less chance of it being contaminated, every time you open it up and look inside you are potentially shedding all kinds of contamination and allowing new air to get inside and change the environment.
The only time you should look is every 2-3 days and make sure the air and your body is clean. Lightly fan the bag and waft some fresh air inside and allow the existing air to move out keeping a fresh exchange of air. Over the next 5-10 days you should see mycelium growth starting to spread throughout the straw, be patient and allow it to fully colonize all of the straw creating another brick of mycelium that will form into the shape of the growbox.
Step 4: Casing the Colonized Straw
After your mycelium has colonized at least 90% of the surface of your straw substrate you can begin the casing layer and get a little bit closer to the final fruits. Open up the plastic bag of casing soil and gently sprinkle it over top of the colonized straw. Do not pack it down but spread it as evenly as possible with no bumps or clumping areas. You want a level surface with no chunks of straw poking up.
Take handfuls and start to pile it into the middle of the growbox on top of the straw until its all on top, then spread the main pile outwards to cover the entire top section of the growbox. You want there to be at least 2 inches of casing soil covering the straw edge to edge across the top of the growbox. Do not compact or compress it, just lightly fluff it across so that no white straw is left visible.
Now you can use the plastic dome lid and the spray bottle. Lightly mist the inside of the dome lid with the spray bottle to create some humidity in the grow chamber. Place the dome lid on top of the grow box and even use some duct tape to create a light seal and help keep the dome lid on the grow box. Now place the entire grow box with the dome lid back into the incubation chamber or room previously used. Maintain the temperature and ensure no light is exposed to the unit and leave it alone for another 5-10 days while the mycelium colonizes up into the casing soil.
You should check the grow box every day and give the inside of the dome a light misting if required. If there is not moisture drops visible on the dome lid then it needs more misting, there should be visible humidity inside the dome lid at all times but not excess moisture to the point were it is dripping off the edges of the grow box. Opening the lid and misting also exchanges the air so as long as your misting daily you don't need to worry about FAE.
Step 5: Fruiting the Mushrooms and Harvesting a Crop
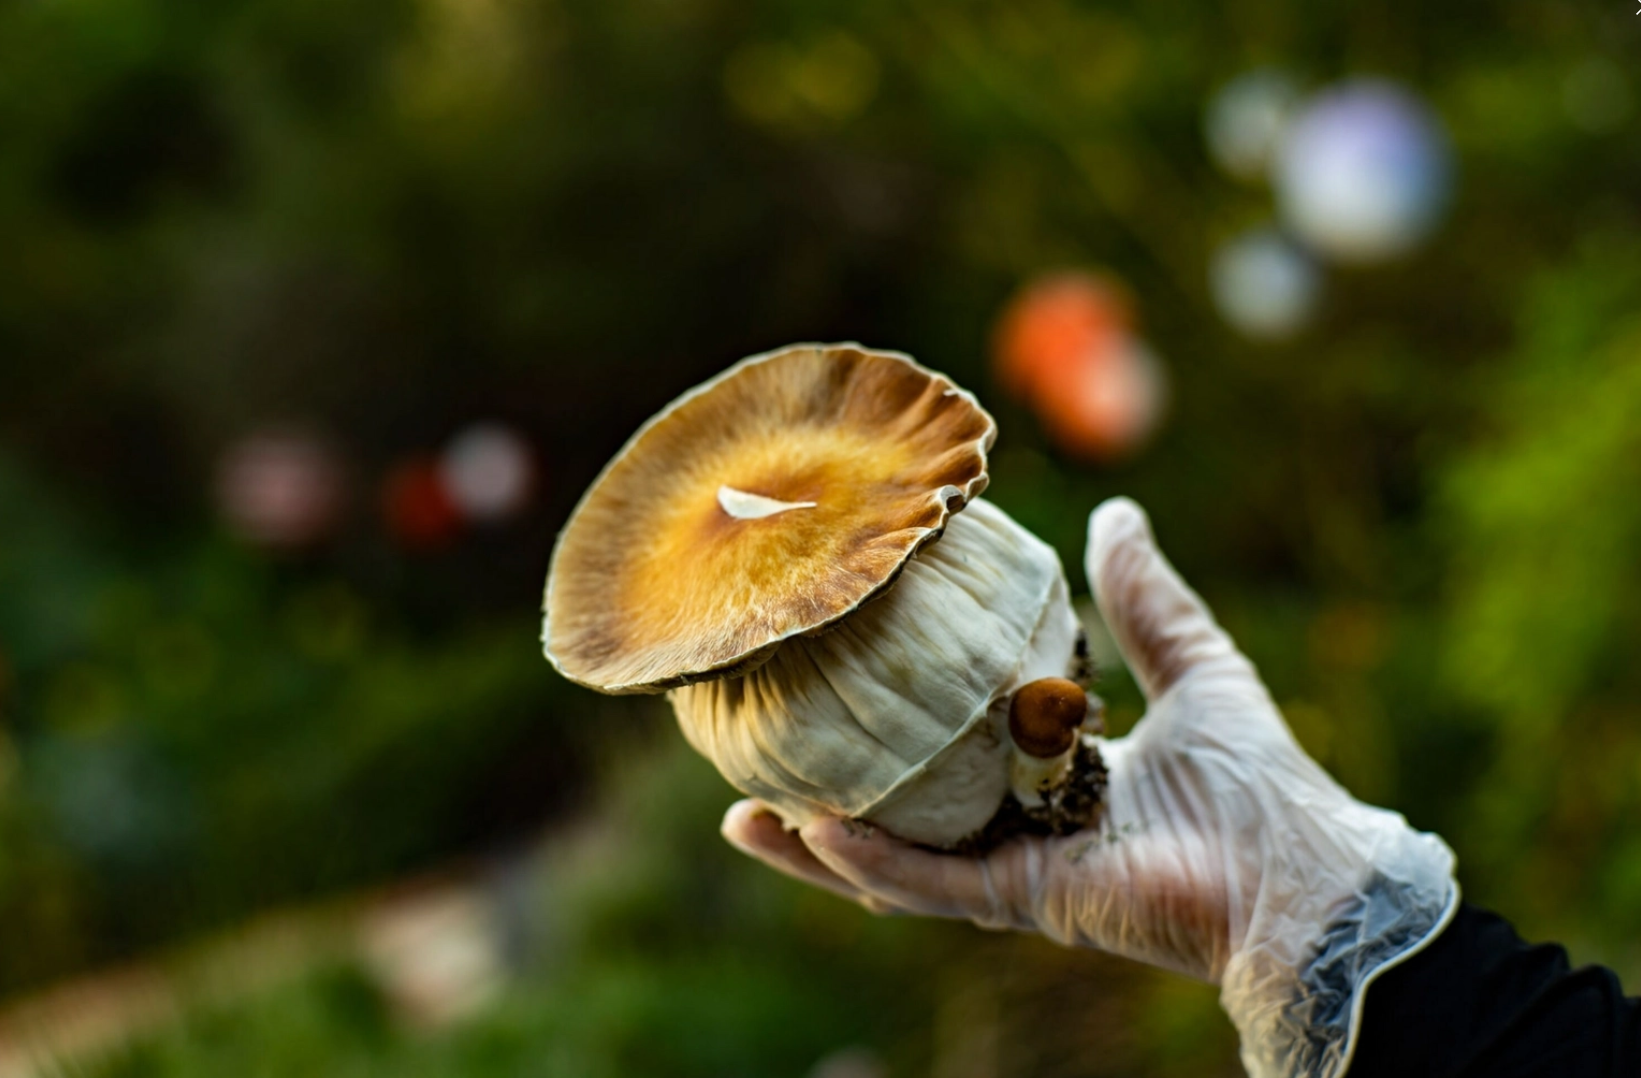
Once you have waited patiently and allowed the mycelium to colonize up into the casing soil you are ready to induce fruiting. You know your ready when you start to see fluffy sections of mycelium popping up into the surface of the casing soil. They will appear like little white stars amongst the dark soil so it should be very obvious that it is time. If you don't see mycelium and its been past 10 days you should double check the temperature and allow it to sit for another few days until mycelium is showing.
Once you are confident it is time to induce fruiting you can expose the grow kit to light for a minimum of 12 hours per day and maintain the temperature inside the growing chamber at 79-81 degrees F. for another 15-25 days. This exposure to light will signal the mycelium to start growing mushrooms and the process will begin. The actual amount or type of light is not important, as long as it is visible light and enough to penetrate into the growing area the mushrooms will respond. A 25 watt light bulb or equivilant LED is sufficient to induce fruiting.
You should start to see pinheads forming on the surface of the casing soil in 10-15 days, sometimes less, sometimes longer depending on the strain of mushroom and environment conditions. It is very important to keep the humidity levels high and consistant at this fruiting stage as the mushrooms are 90% water and will absorb large amounts of humidity, try and keep it between 75-90% humiditiy level at all times, daily misting and a fogger system will help with that, however be careful as it is possible to have to much water and humidity and it can create problems instead of benefits.
Mushrooms usually start forming around the edges of the growbox as this is were the most humiditity is compressed and gathered by the plastic folds. Just be patient and the mycelium will colonize spreading the pinheads and mushrooms across the entire surface of the growbox. Sometimes it won't produce mushrooms across the entire area the first flush and sometimes you get even more mushrooms the 2nd and 3rd flushes, every time is different and every strain / species grows differently.
It is possible to get several flushes from this Mushbox Casing Kit. All you need to do is pick all the existing fully grown mushrooms and leave the smaller pins forming below. Then add more water (approx half a litre or a full litre depending on how dry your casing is) directly to the casing, it will be absorbed by the mycelium and create a new batch of mushrooms. We have heard back from customers who have had over 8 flushes of mushrooms off one single growing kit but you can usually expect a minimum of 3 flushes before it is fully dried up and not able to produce anymore mushrooms.
Tips and other information about the Mushbox Casing Kit
Harvesting your mushrooms
When you are ready to harvest mushrooms it is important to do so with precision and at the right time. The best time to pick your mushrooms is just before the veil breaks, this is just before all the spores are released and can make a mess of your substrate and possibly stunt future flushes. To learn more about when to pick your mushrooms and breaking of the veil please click here and read the article.
Contamination: Evil Green Mold
If at anytime during incubation or growth stages you notice a green spot forming this is not a good sign and you should consider the experiment over. Green spots are the first sign of contamination called "green mold" or trichoderma. This is very common and happens to the best mycologists and is really part of the experience. It is harmless to us but will be the end to your experiment in most cases. There is some techniques to prevent and remove this green mold contamination, click here to read the article about green mold trichoderma.
The Mushbox Casing kit USA version comes with:
- 1 grain bag
- 1 LC syringe
- 1 grow box
- 1 dome lid
- 1 bag of casing soil
- 1 burlap bag of shredded straw
- 1 spray bottle
- 1 mixing bag
Some other items you will need to complete the process will include 1 large pot / canner that can hold 20L or more for pasteurization of the straw, a strainer or drain bin, a rock or weight, and some sterilization items such as: lysol, alchohol wipes, hand sanitizer, and gloves. Also if you have it available a glove box or flowhood and any other equipment that will help maintain a clean working environment. Those last items are not mandatory but will always help.
Starting the USA Kit
The only difference between the USA and the CAD kit is the live spawn and the grain bag. The USA kit comes with an LC syringe and a grain bag instead of a bag of live spawn. To create the live spawn you need to inoculate the grain bag using the LC syringe.
Prepare your work environment and wipe down all surfaces with Iso. Wipe the inoculation point on the grain bag down and prepare your LC syringe for inoculation. Inject the LC into the grain bag. Incubate your grains until the mycelium fully colonizes and creates a spawn block.
Now you can follow the Canadian instructions using your spawn.


Mycoblog - Info and articles about the world of fungi
#FREESPORES NETWORK